
Acquisition and Tracking
Getting Started
- Download Bonsai from http://bonsai-rx.org.
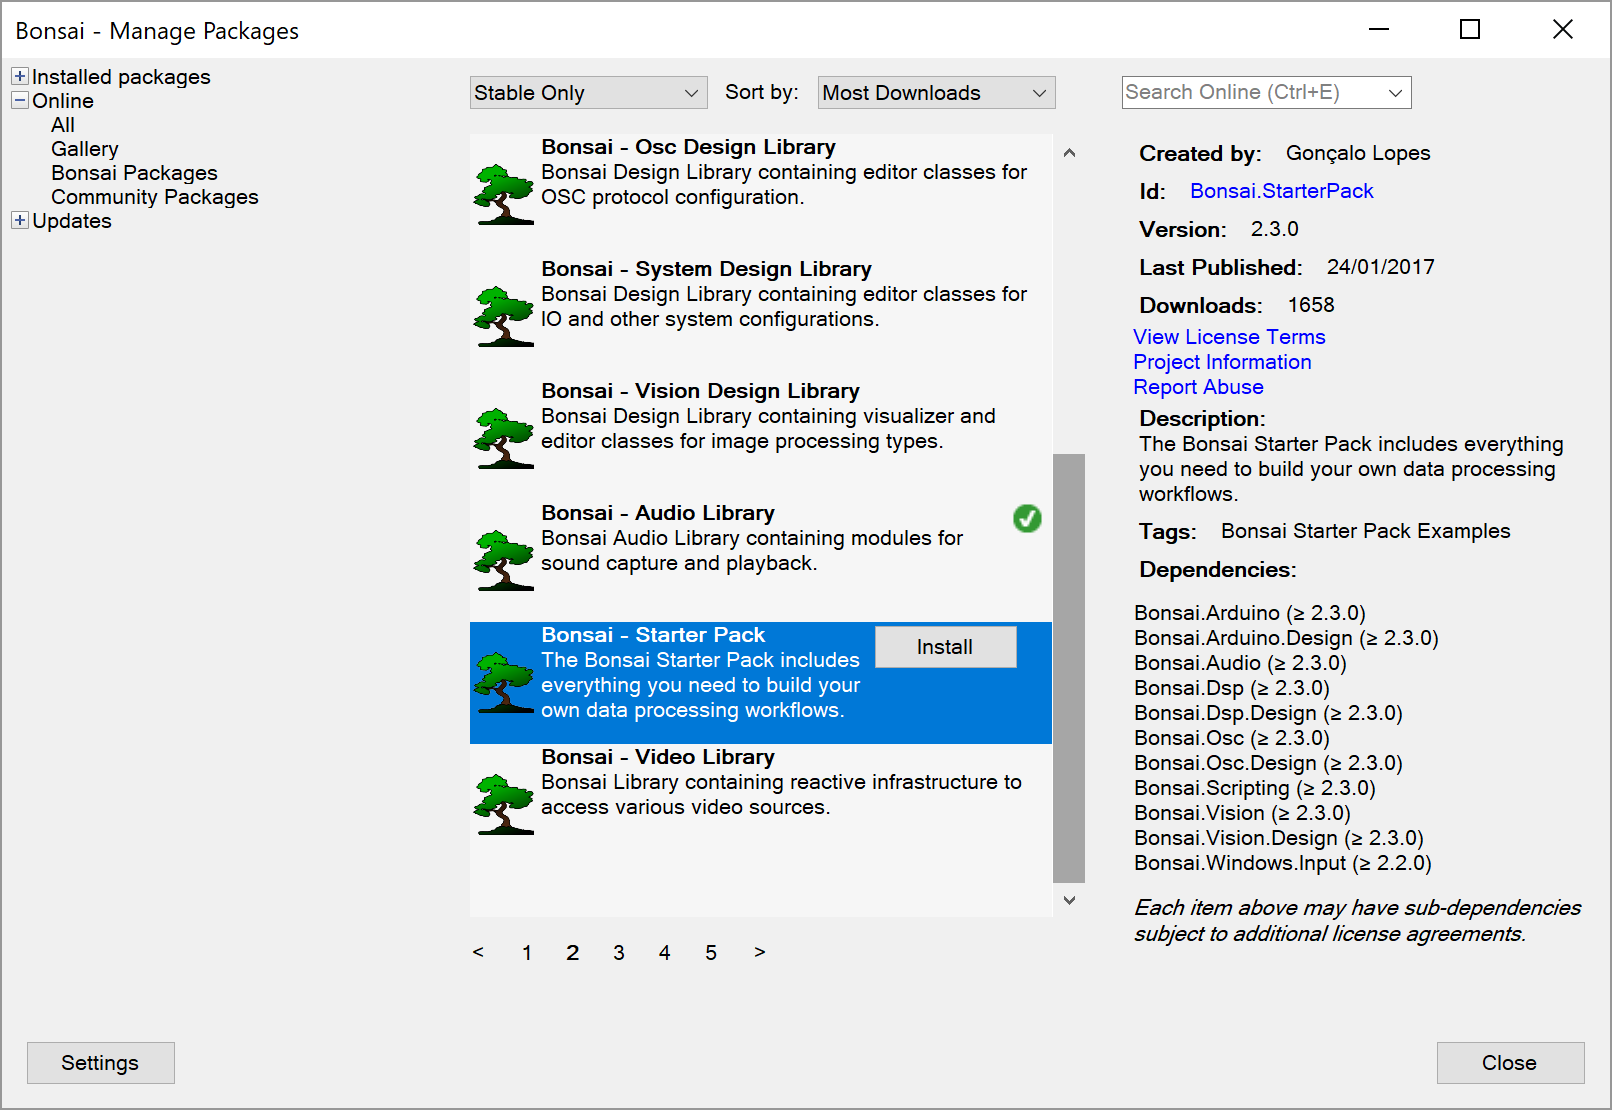
- Install Bonsai - Starter Pack from the package manager.
- Click the
Updatestab on the left side of the screen and install any available upgrades. - Read http://bonsai-rx.org/docs/editor for an introduction to the user interface.
Video Acquisition
Bonsai can be used to acquire and record data from many different devices. The exercises below will make you comfortable with the most common Bonsai data types. The first data type we will discuss is an image, which is represented as a 2D matrix of pixels. Each pixel represents either a brightness value in a grayscale image, or a BGR colour value in a colour image.
Exercise 1: Saving a video
- Insert a
CameraCapturesource. - Insert a
VideoWritersink. - Configure the
FileNameproperty of theVideoWriteroperator with a file name ending in.avi. - Run the workflow and check that it generates a valid video file.
Exercise 2: Saving a grayscale video
- Insert a
Grayscaletransform betweenCameraCaptureandVideoWriter. - Run the workflow. The output should now be a grayscale movie.
- Modify the workflow so that it records both a colour and a grayscale movie.
Audio Acquisition
Audio data is captured at much higher temporal sampling frequencies than video. However, the data is typically buffered into chunks of multiple samples before being sent to the computer. Also, multiple audio channels can be acquired simultaneously in the case of a stereo microphone, or high-density ephys probes. For this reason, such multi-sample, multi-channel data is also typically represented as a 2D matrix of amplitude values, where rows represent channels, and columns represent time.
Exercise 3: Saving a WAV file
- Insert an
AudioCapturesource. - Insert an
AudioWritersink. - Configure the
FileNameproperty of theAudioWriteroperator with a file name ending in.wav. - Make sure that the
SamplingFrequencyproperty of theAudioWritermatches the frequency of audio capture. - Run the workflow for some seconds and check that it generates a valid audio file.
Exercise 4: Saving raw binary waveform data
- Replace the
AudioWriteroperator with aMatrixWritersink. - Configure the
Pathproperty of theMatrixWriteroperator with a file name ending in.bin. - Run the workflow for some seconds.
- Open the resulting binary file in MATLAB/Python/R and check that binary samples have been correctly recorded.
Exercise 5 (Optional): Record raw data from an OpenEphys board
- Install the Bonsai - Ephys Library from the package manager.
- Replace the
AudioCapturesource by anRhd2000EvalBoardsource. - Right-click the
Rhd2000EvalBoardoperator. Select theRhd2000DataFrame>AmplifierDatamember from the context menu. - Connect the
AmplifierDatato theMatrixWriteroperator. - Run the workflow and check that binary samples have been correctly recorded.
Arduino Acquisition
In order to communicate and interact with an Arduino using Bonsai, you must setup a protocol for sending data to and from your host PC to the Arduino (via the USB cable). This can be a challenging task, as you will see later. Thankfully, Arduino already includes a standard implementation of a very efficient binary protocol called Firmata that can be used for serial communication with external applications.
Exercise 6: Configure Arduino for real-time communication
- Open the Arduino IDE.
- Upload
StandardFirmatato your Arduino. The code can be found inFile>Examples>Firmata. - In a new Bonsai workflow, insert an
AnalogInputsource. - Configure the
PortNameproperty to point to the correct serial port where the Arduino is connected. - Run the workflow and visualize the output of the analog source. What do you see?
- Optional: Connect a sensor to the analog input pin, e.g. a potentiometer or a button.
- Insert a
CsvWritersink. This operator records input data into a text file. - Configure the
FileNameproperty of theCsvWriteroperator with a file name ending in.csv. - Run the workflow and check the text file data.
Exercise 7: Control an LED
- Insert a
Booleansource. - Insert a
DigitalOutputsink. - Set the
Pinproperty of theDigitalOutputoperator to 13. - Configure the
PortNameproperty. - Run the workflow and change the
Valueproperty of theBooleanoperator. - Optional: Use your mouse to control the LED! Replace the
Booleanoperator by aMouseMovesource (hint: useGreaterThan,LessThan, or equivalent operators to connect one of the mouse axis toDigitalOutput).
Video Tracking
Bonsai allows processing the captured raw data to extract real-time measures of behaviour or other derived quantities. The exercises below will introduce you to some of its online video processing capabilities.
Exercise 8: Segmentation of a coloured object
- Insert a
CameraCapturesource. - Insert a
RangeThresholdtransform. - Open the visualizer for the
RangeThresholdoperator. - Configure the
LowerandUpperproperties of theRangeThresholdto isolate your coloured object (hint: click the small arrow to the left of each property to expand their individual values).
This method segments coloured objects by setting boundaries directly on the BGR colour space. This colour space is considered a poor choice for colour segmentation. Can you see why?
- Replace the
RangeThresholdoperator by aConvertColortransform. This node converts the image from the BGR colour space to the Hue-Saturation-Value (HSV) colour space. - Insert an
HsvThresholdtransform. - Configure the
LowerandUpperproperties of theHsvThresholdto isolate the object.
Exercise 9: Real-time position tracking
- Insert a
FindContourstransform. This operator traces the contours of all the objects in a black-and-white image. An object is defined as a region of connected white pixels. - Insert a
BinaryRegionAnalysistransform. This node calculates the area, center of mass, and orientation for all the detected contours. - Insert a
LargestBinaryRegiontransform to extract the largest detected object in the image. - Select the
ConnectedComponent>Centroidfield of the largest binary region using the context menu. - Record the position of the centroid using a
CsvWritersink.
Exercise 10: Background subtraction and motion tracking
- Create a grayscale video stream.
- Insert a
Skipoperator. Set itsCountproperty to 1. - In a new branch, insert a
Takeoperator. Set itsCountproperty to 1. - Combine the images from both branches using the
CombineLatestcombinator. - Insert the
AbsoluteDifferencetransform afterCombineLatest. - Insert a
Thresholdtransform. Visualize the node output and adjust theThresholdValueproperty.
Describe in your own words what this workflow is doing.
- Replace the
CombineLatestoperator with theZipcombinator. - Delete the
Takeoperator.
Describe in your own words what this new workflow is doing.